


For initial ideas I think the images created during the 2nd week of project was a good starting point, I managed to get some really basic and simple ideas down fairly quickly whilst still gathering research. The alien ideas I manged to create where a good starting point for development work, I had a strong foundation which I could now work with. However with the pirate sketch's I think i could of done much more and made more variations.
As the 3rd week of the project began I aimed to finish all sketch work and final drawings for the alien design. I think this was a big goal to set but if accomplished it would provide me with a larger amount of time in the future to work on 3d work and my clay sculpt. The following is alien sketch's and final drawings I created during the 3rd week.
Quick photoshops designs -


For the photoshop pieces above, I wanted to create a few basic ideas and then build on 1 or 2 of them. As you can see I developed 1 of my designs, I only developed this singe design because I felt it looked the best and I would also be able to develop it further and form a class/profession out of this design.
Development Work for Hunter Gorg Class -


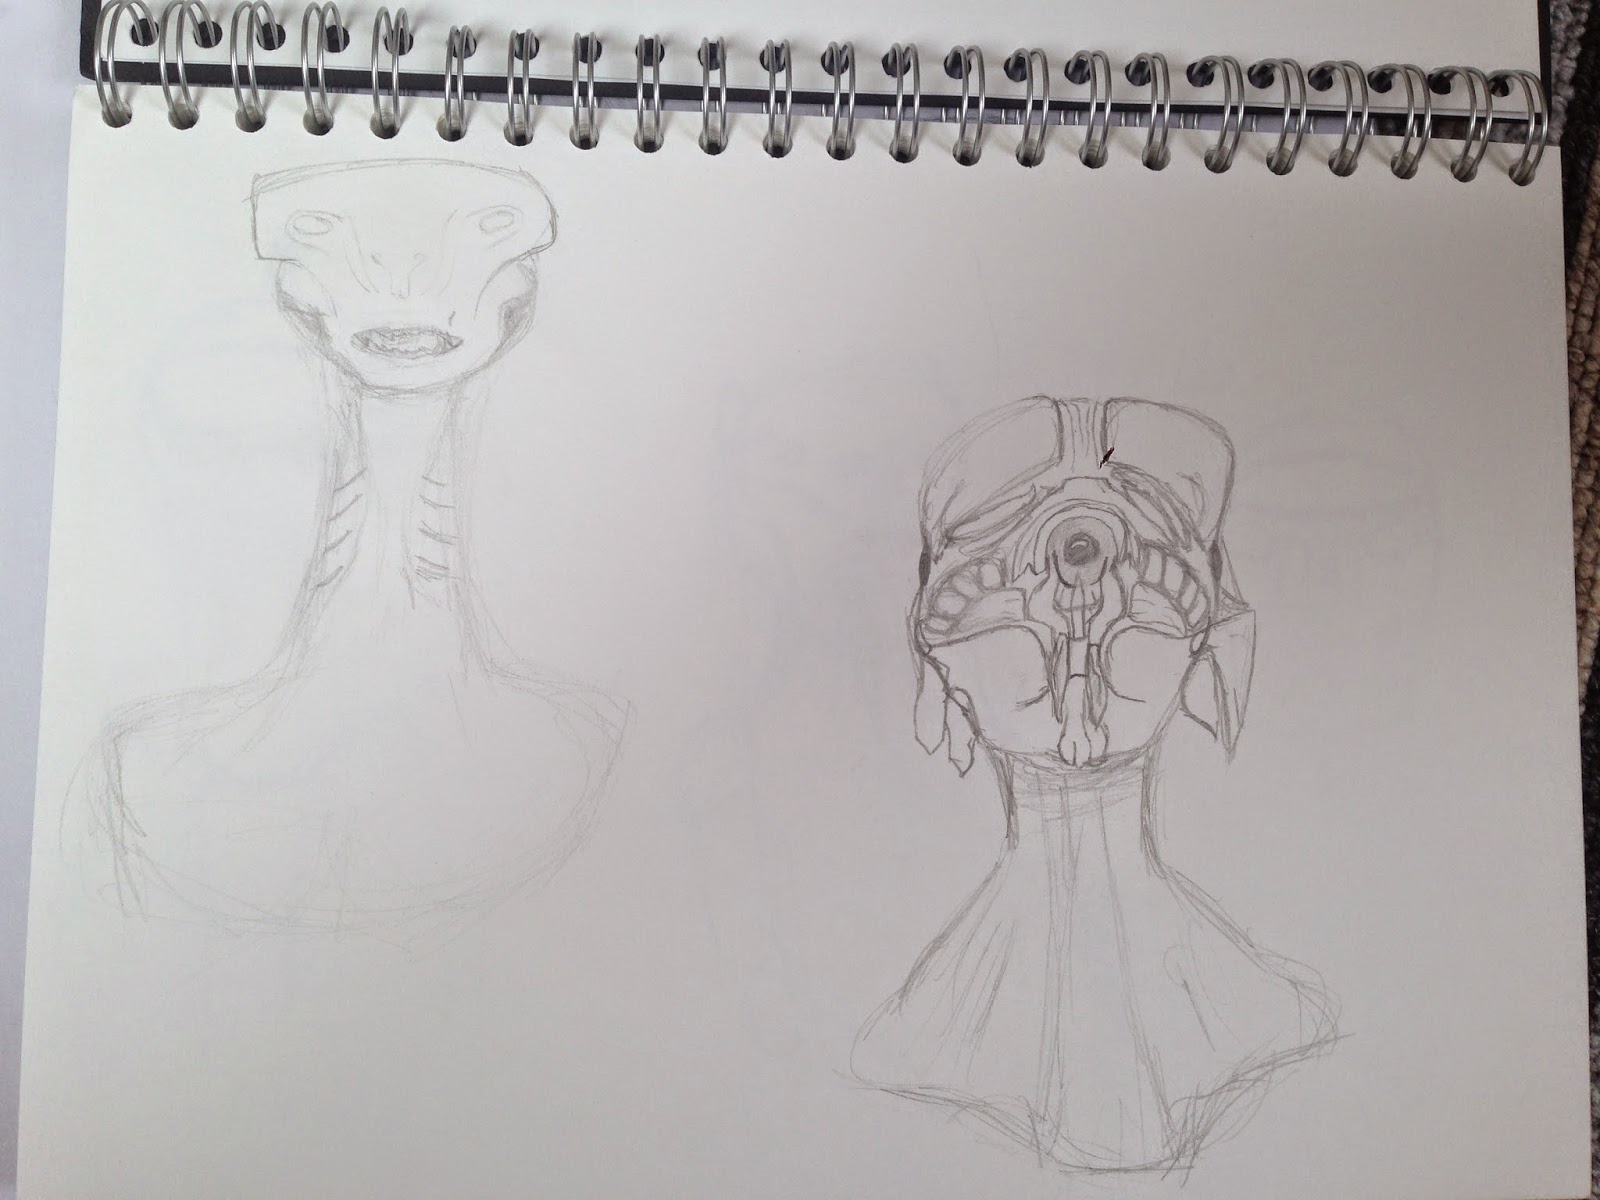
2.
This is my design process I went through to create my Gorg Ranger class. I started with an Andrew Baker design which I quickly sketched first. I then took this design and started developing to make it my own, I designed 8 pieces before finally being happy. The final design is at the top right on the 2nd image.
I am happy with the final design, as it looks unique. I think if i was to design this again I would change the nose or even remove the nose.
Development Work for Warrior Gorg Class -


The above images are in order of my design process, this design is a further development from my photoshop designs. I started with some sketch's from the three quarter view, and I then began to see what the design would look like from the front; from here I changed a few things as you can see in the final images there is 4 different designs. My final is the bottom right, I felt this was my strongest design and portrayed my warrior class perfectly.
Development Work for Warlock Gorg Class -


My Warlock design for the Gorgs/Aliens is really weak, at the time I wanted to add more detail in photoshop so this is why this development work is at a lower quality compared to the above. I'm happy with how the Warlock design looks for the Gorgs, I think I made it look a lot better on photoshop.
After all the development work was complete I put all the final drawings onto Photoshop, from here I created different colour variations of each design.

As week 4 began I set myself to create reference for my warrior clay sculpt, It was smiler to an orthographic however wasn't is perfect measurement like an orthographic.
Side Of Head Development For Warrior Gorg Class -


During developing the side of the head, I wanted to make sure that the surface and shape of the head was perfect. It took me a while to get but I am very happy with how the side of the head turned out, I also think it was perfect to use as reference for my clay model.
Back Of Head Development For Warrior Gorg Class -


Moving onto the back of the head, it took me slightly longer to get the desired look and shape i wanted, this is due to me not being familiar with during heads from the rear. However again I am happy with how the rear side of the head came out.
Once the back and side of the head were complete I then put the final drawings (front, side and back) onto photoshop so I could add colour to them. Below was the result I got.

The circles at the top are my colour palette, I based the colours off one of my previous designs from above. I personally think that this was great for reference material and without this I don't think my clay sculpt would of looked as good as it did.
After this was complete I then began my clay sculpt, below is an image of my final clay sculpt and my 3D sculpt, you can find my full clay and 3D sculpts step by step guide further on in this blog.


Approaching the end of week 4 I now quickly had to get my pirate design pulled together so it would be finished half way into week 5. The following is how I went about developing my pirate classes / professions.

I began by creating the above in a few hours, I wanted to get some basic pirate development work first and use it as a foundation to build up from. Although I was only going to be creating the bust I felt that by creating full body sketch's would help me develop further in the designs. I think the above was a great starting point for me and helped me develop my work further in the project.
Creating Pirate Head -


What I did for the pirates to save time was only create 1 face design. The reason for this is because I was going to create a wider range of faces based of this design on photoshop, this saved me a huge amount of time and personally I think if I didn't do this I wouldn't of finished my pirate 3d sculpt on time.
Pirate Photoshop Designs; Captain, Hunter and Warlock -

The above are my final pirate concepts, the first line is Captain class also known as a Warrior, Second line is the Hunter class and the third and final line is the Warlock class. All are the same face design just slightly different piercings, hair, eyes, beards etc. Personally I think I did a good job here as the faces don't look like they are from the same design. My favourite out of the three classes would be the Warlock, the reason for this is because to me they look really well designed; they also are quite creepy. I would of liked to design the Warlock in 3d however due to my time schedule I don't think I would of been successful with choosing this design. Which is why I decided to develop the Captain middle design in 3D.
Side And Back Development For Captain Class -


Whilst I was developing the side of the face I watched a few Youtube videos so I could learn and understand how to draw the face from the side, I think I did a pretty good job here. I used the box method and then line out the forehead, eyes, nose, mouth then chin. Afterwards you begin to add the detail. For the back of the head I used a basic circle then tried my best to add as much detail as possible. Once I was happy with the designs I moved the designs onto Photoshop to add colour.
At the start of week 5 I finished my Pirate concept art, the image is below.

Here is my final concept design for my pirate, again it isn't an orthographic I just used these images as reference. I am really happy with how this designed turned out, I think I made the right choice by developing this idea further. Below is a render of my 3D model made on mudbox and zbrush. You can find a full step by step creating the 3D sculpt further in my Blog.

No comments:
Post a Comment