Wednesday 27 May 2015

Mudbox and Zbrush Pirate

The Following is a step by step of how I design my Pirate Captain using 3D software.


Step 1: To begin the sculpt I loaded up the basic mudbox head mesh.


Step 2:

Here I used the grab tool to create a basic nose I also added an indent to the side of head near the eyes and changed the jawline. I should really start from top to bottom or bottom to top as it will make my design process easier to get the form and size of form right however, I began from the centre with this design.


Step 3:

Here I used the grab tool again to change the shape of the sides of the head. Ive also made a brow bone. I then added some detail to the neck area. Check human anatomy for reference.


Step 4:

Here I used the grab tool to pull the inside of the mouth into the mesh. This replicates the inside of the mouth.


Step 5:

 I Then used the bulge tool to add a bit of thickness to the lips and i also used the grab tool to from the cheek bones. I also created the philtrum under the nose.


Step 6:

I made some adjustments to the jaw line to make it look wider, I also added some thickness below the cheek bones to create a more realistic face. I also created the eye ball sockets.


Step 7:

Here I used the bulge tool to add some thickness to the eye brow bone, and I also added some detail under the lips. I then used the grab tool to change the lips line, and I also made the eye brow bone slightly raised to create an angry facial expression.


Step 8:

This is how the jawline looks from the side. I also added some basic shape to the ear. And I added in the sternocleidomastoid muscle, although the muscle doesn't stick out as much and is much larger, this is a mistake I will have to keep in the design for now.


Step 9:

I added slightly more detail to the inside of the ear, I didn't add to much as this will be covered by hair later so I don't want to waste to much time here.


Step 10:

I sent the mesh over the Maya and added is some basic eyes. I then formed some basic eye lids.


Step 11:

I added some depth around the eyes and eyelids. I also moved the brow line up. I also added more detail to the eyelid.


Step 12:

I added some wrinkles to the nose and forehead. I also added the scare across the face. Lastly I added the skin on the lip where the bone piercing would be.


Step 13:

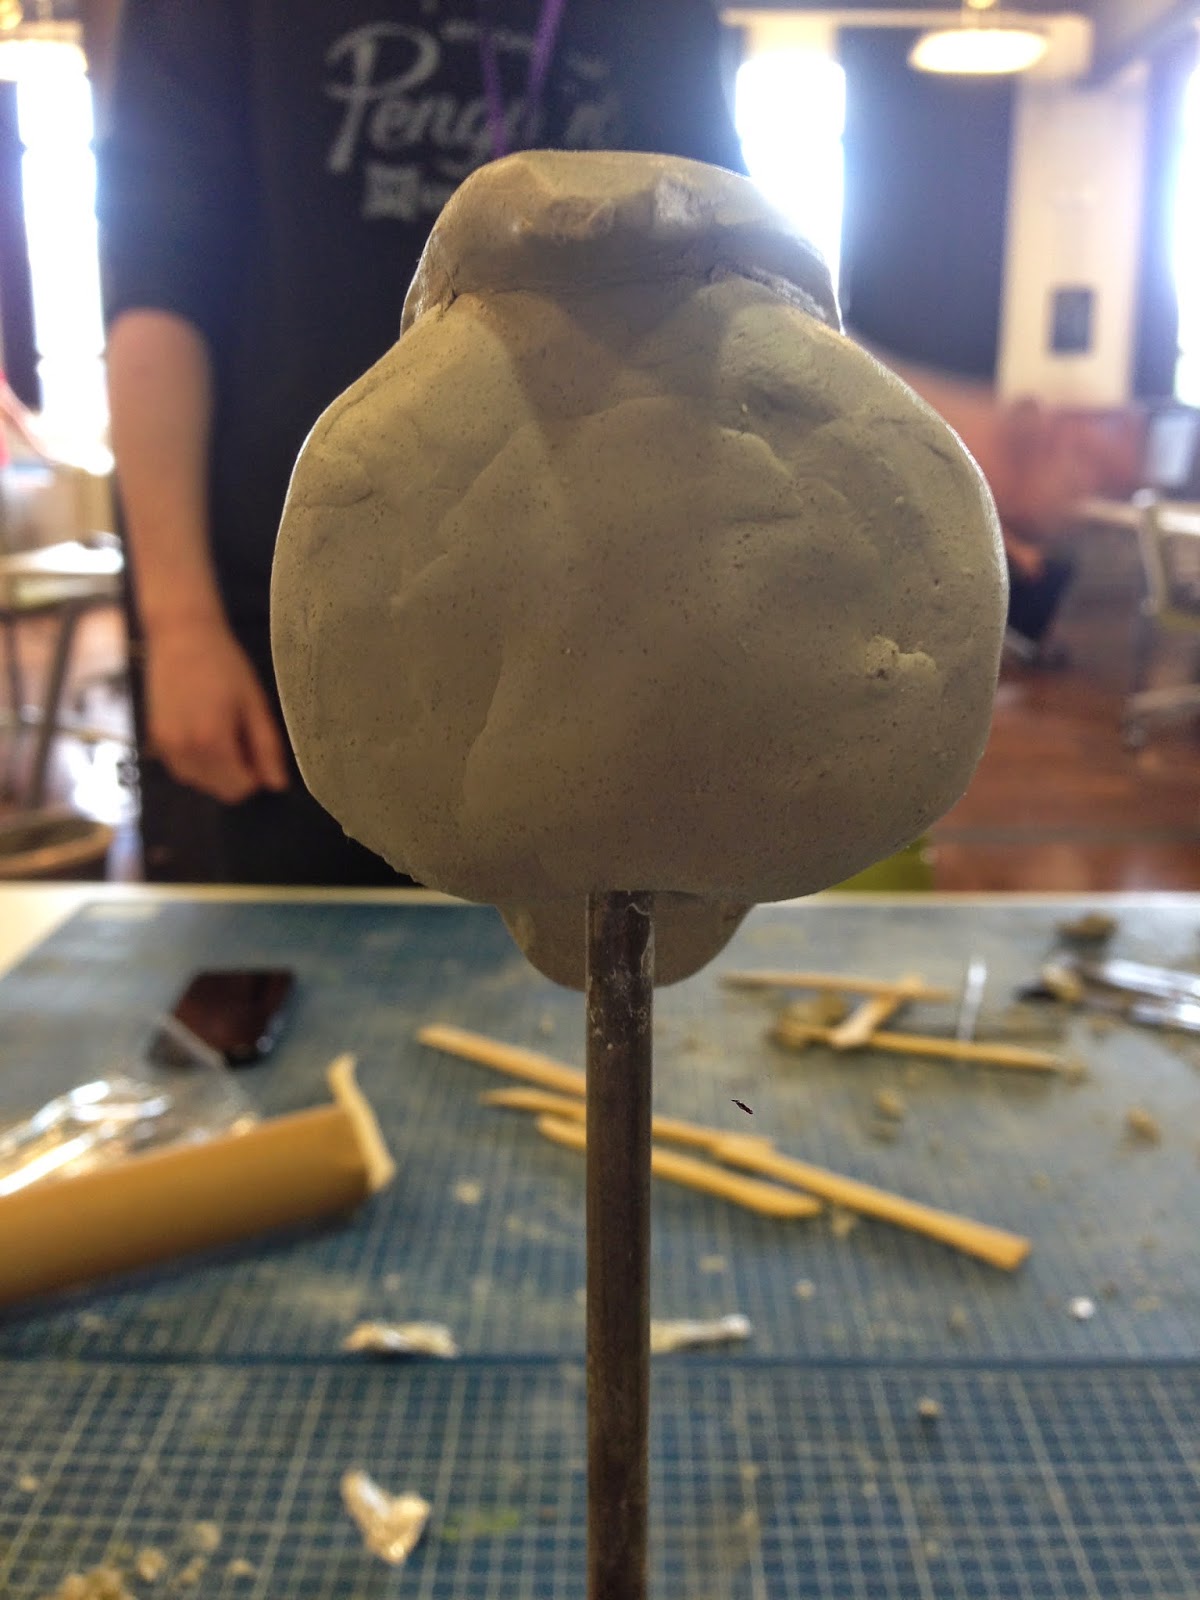
Here is a quick shot of the back of the head. Ive added some basic muscle to the back, and added the indent to the back of the skull.


Step 14:

For the inside of the mouth I added very basic tongue and teeth, as this is barley visible on my design I didn't add to much detail.


Step 15:

I then added the piercing to the lips.
Step 16:

I moved over to Maya and added this very basic hat to the mesh. I didn't add to much detail in Maya as I knew I could do this in Mudbox.


Step 17:

I began to move the hat mesh around to get a shape I liked.


Step 18:

I then added the detail, I tried to match the hat up as close as possible to my design, I think I did a fairly decent job at this. To do this I used the grab tool.


Step 19:

I then used the bulge tool to add some detail to the tips of the hat, I also used the grab tool to pull down the top of the hat.


Step 20:

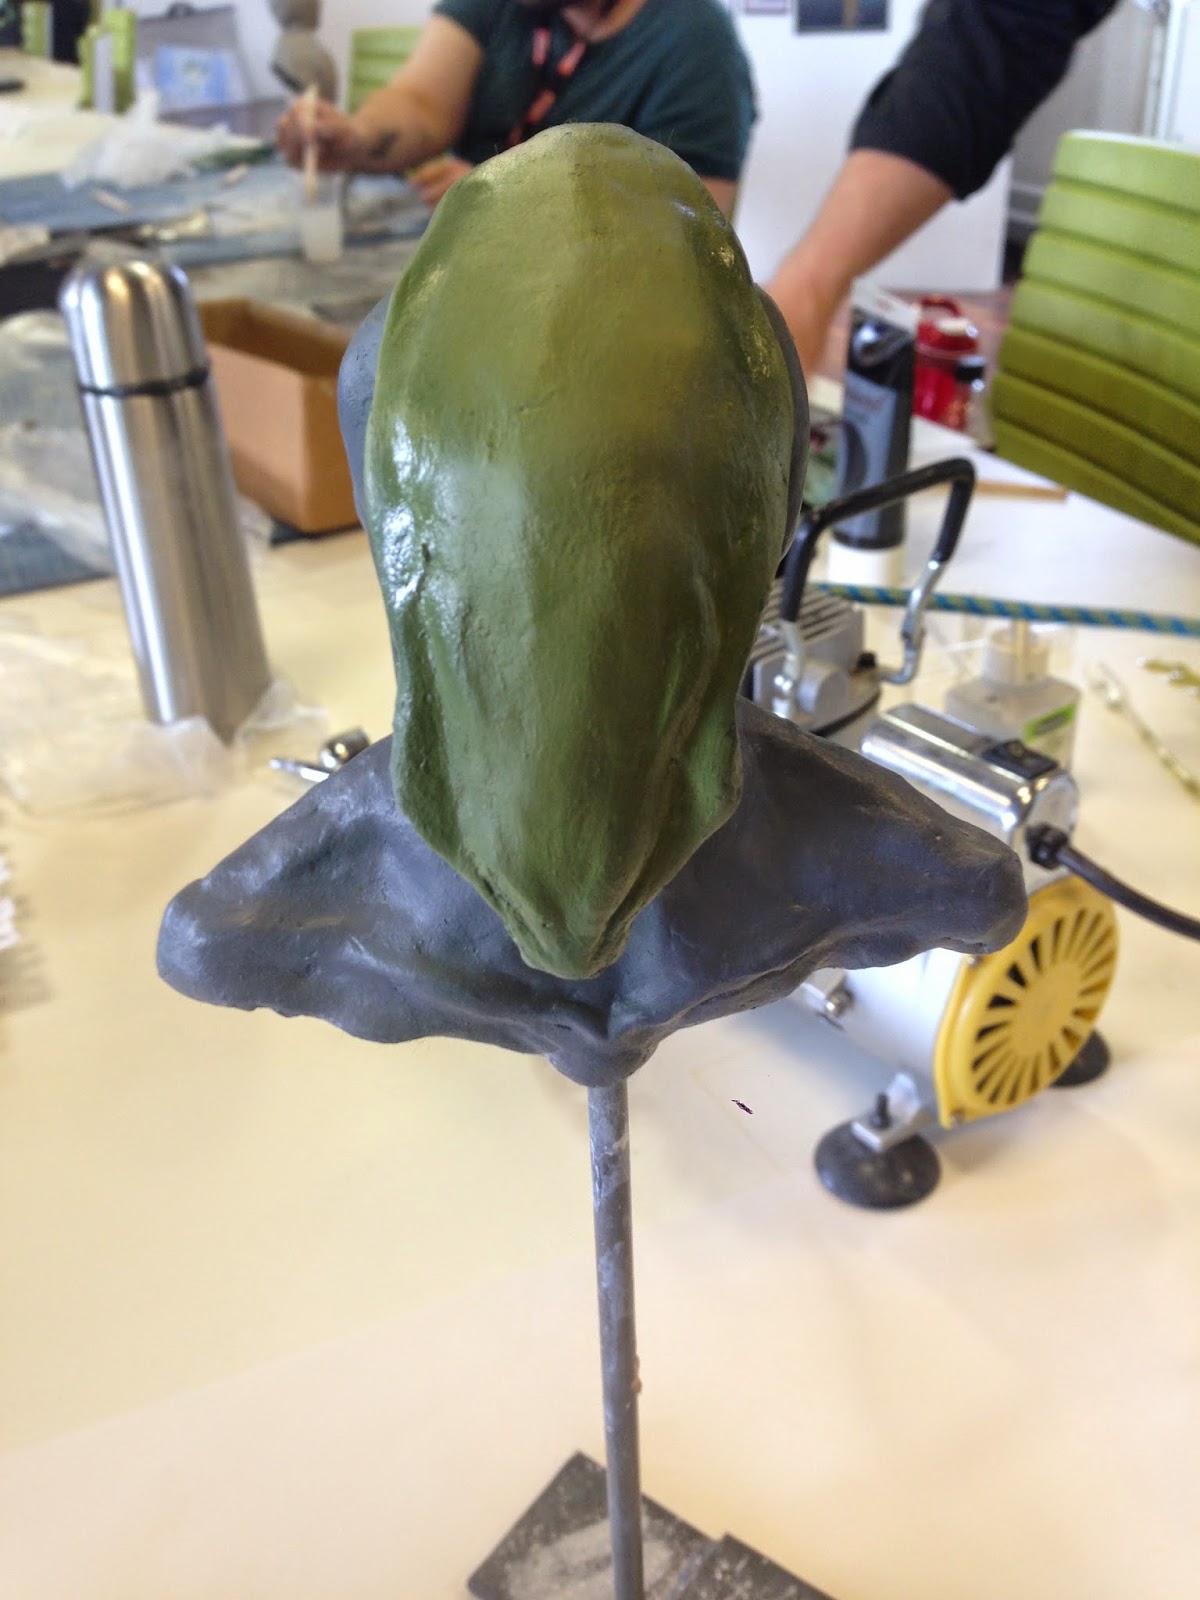
I then added this thick part around the top of the head under the hat. This represents the bandanna, I felt it would be easier to do this way and it would take me less time.


Step 21:

I then saved the model and exported it as an .Obj and used the import 3d mesh tool to get my pirate into Zbrush. I then watched tutorials on how to use the FiberMesh tools to create the hair. I think for my first time using FiberMesh I did a pretty decent job.


Step 22:

This was my first time using Polypaint and sadly I didn't know how to paint in layers or if its possible to paint in layers (I'm pretty sure it is) so i only have this one screen shot. But I am still happy with the outcome of this design.


Here is my final render of my pirate I'm happy with how he looks with FiberMesh rendered. However the bandanna could of been much more detailed looking at it now.

Mudbox Gorg Sculpt

The following is a step by step of how i created my Gorg Warrior design on Mudbox.


Step 1:

To begin the sculpt I used the basic mudbox head mesh.


Step 2:

I then began to get the basic form of my design, to do this I used the grab tool and the Bulge tool in some areas to.


Step 3:

Afterwards I went around the face where the thicker skin is (Helmet looking part) and used the bulge tool to get the a clear difference between the skin thickness. I then also made the ear which is a hole in the side of the head on both sides. I also made the neck more detailed, look at the human anatomy to replicate this.


Step 3 Back View:

This is just a quick shot of step 3 from the back of the head.


 Step 4:

Here I used the bulge tool down the centre of the thick skin to get a better 3d effect. I also added some more detail to the body.


Step 5:

Here i added some more detail to the jaw area to make it clear where the jawline is. I also started to add the attachment to the thicker skin (the deep lines).


Step 5 Back View:

This is what step 5 looks like from the back.


Step 6:

I then added the creases to the skin, they are thicker areas down the back to protect the spine.


Step 7:

To finish the model I added veins to the skin, I didn't add any veins to the thicker skin as this didn't make sense to me.


The following steps are paint layers.


Step 1 Paint:

The first paint layer I made a grey base layer to make it easy to work around.


Step 2 Paint:

I then painted the veins onto the mesh, I used a dark green and then added a lighter green over the top and used the blur tool to mix the two.


Step 3 Paint:

Afterwards I added a gloss paint to give a slimy effect to the skin. However i didn't apply the gloss paint to the thick skin because I wanted to show the difference between to two.


Step 4 Paint:

For step 4 I added a dark green base to the thick skin, I then painted a light green over the top in the centre of the skin to give a better 3d look.


Step 5 Paint:

To paint the hands on the head I used a dark green and used the air brush paint tool and used low strength to give a look wear, to show that the Gorg has been in many battles.


Step 6 Paint:

For step 6 I painted the attachment part a dark red to add deep detail and then highlighted parts to give a better effect of thickness. I also added a dark grey to the inner ear.


Step 6 Paint:

A closer look at step 6.


The above is the final pieace of my Gorg Warrior.

Evaluation

      At the beginning of my FMP I set out to create my own project brief, something I hadn't done before so I found this exciting due to the amount of creative freedom I had. I think this has helped me find what I excel in. After looking at different ideas for my FMP I finally came down to a story driven game, it was sci-fi post apocalyptic genre which involved pirates battling aliens. However a few weeks in I had a change in heart, I wanted to create a MMORPG which still involved the pirates battling aliens: I just felt that creating a MMORPG would give me more freedom and I also felt I would be able to create a better end product.

      After I had my basic end goal I started my research. Firstly I began to look at different art styles and colour pallets present in current games, to find them I looked at current MMORPG whilst doing this I also based my design around a semi-realistic style. After looking at a hand full of games I decided to use a mixture of Guild Wars 2 and Age Of Conans art styles, for the colour pallet I was set on using Age Of Conan's as it was slightly dark and gave me the feeling of a mature and older audience. To gather more research I looked at the following artists; Andrew Baker, Landis Fields, Einar Martinsen, Josh Crockett and Alex Stratulat. The artist mentioned are just for alien reference, to gather reference for pirates I watched Black Sails and Pirates Of The Caribbean. The reason why I researched  the above is because I knew this would help me set a clear path for my end design.

      My research helped me immensely whilst developing my ideas due to creating 3 classes for each faction: Gorg and Pirate, I needed to have a quick work flow and without my research I think that I would of been creating and developing designs at a slower pace. I could look at the above artists work and merge a piece of there work with mine, which i would then develop to make my own. Doing so increased my work flow and I never got stuck for ideas as I had a such a wide range of reference.

     To demonstrate my designs I used the following medias and materials; Photoshop concepts, Clay sculpt, Mudbox and Zbrush 3D bust models. The reason why I decided to use the above is because I knew I could use the software to a decent standard, however the clay sculpt was a gamble as it was only my second time creating a sculpt. Considering it was my second sculpt I decided to play it smart and create my Gorg concept instead of my pirate concept. The reason I did this is because we see the human face everyday so it would be very clear to someone where mistakes or weakness in my sculpt would be, however with my Gorg concept its my personal design so its less likely for someone to see those mistakes.

     During developing ideas I came across successes and failures all of which were obstacles. The first obstacle I came across was I felt that I wouldn't of had enough time to create 5 classes for each faction, I wanted 5 full character classes created and I felt like this was possible at first until I begin to loose track of time. So I had to decide what to do, I dropped the number down from 5 to 3 and I was also going to only design the bust. However I would design different coloured variations of each class for the Gorgs and for the Pirates I would design 3 different designs for each class using the same head for each design. I think this was a success as I feel Ive made the right choice as I don't think it would of been possible to finish all my designs.

     Another problem which was a huge failure was on my Gorg bust sculpt, I left my clay sculpt by the window to dry in the sun. I came to college the next day with a large amount of cracks, little did I know you had to leave the clay to dry in a sightly moist bag to lessen the amount of cracks. To make matters worse whilst I was fixing the cracks the head of the bust fell off from the shoulders and chest. Which left me with a huge problem as I was going to paint my model, to fix this I had to use water to get the dry clay wet again and apply clay where the neck would have been and then reattach the head to the shoulders. After many failed attempts it finally stayed in place and dried. Luckily for my i managed to turn a failed obstacle into a success.

    Another problem I hit was during creating my 3D Mudbox bust I kept getting errors and my computer would crash, the way I managed to get around this was save every 5 minutes. I also had to go down a few sub-divisions when moving over to Maya for renders. Whilst creating my pirate I started on mudbox before moving over to Zbrush, I did this as I more comfortable on Mudbox and I didn't want to waste time getting use to Zbrush. Whilst moving my mudbox file to Zbrush I found a few obstacles such as; getting use to the controls, understanding the tools and understanding the interface. So this slowed me down, however learning to use fibermesh was smoothing I really enjoyed. It was fun to use something new and end up with some crazy hairstyles and beards.

    Whilst I was choosing which designs to use my final pieces (3D sculpts) I had to consider which designs looked best but would also be possible to create in the time I had remaining. I had 2 weeks to create my Gorg bust and my pirate Bust. The reason I chose my Gorg warrior is because I already had a 3D clay sculpt so I could already see how it would look in 3d so I decided to further develop this design into a 3d sculpt. However for the pirate it was out of the captain and ranger classes, because I felt the warlock class would take much longer and I didn't want to hand work in late. I finally came to a conclusion and decided to develop the captain design to a 3d sculpt.

     I think for my final pieces I was really happy with how they turned out, the pirate was slightly on the less realistic side however I still think he would suit my game genre perfectly. The Gorg design is defiantly my strongest piece, I feel that my Gorg design really shows some unique and something I haven't personally seen before. I am currently waiting on feedback from GCtalk and the Zbrush central forums to see how other more experienced artists see my work.

     If I was to do my FMP again I think I would create an animation just because I find it fun and interesting to learn. I would create a short animation and make it send a message, something that makes people feel something, I personally think those moments in animation are the best ones.

Saturday 23 May 2015

Gorg Warrior Character Clay Sculpt

30/04/2015


Today I started to clay sculpt my Gorg Warrior Design (Reference Right). Today's blog will be a step by step of how I clay sculpted my design on the right.


Step 1:

Firstly I started out with some kitchen foil, I began to form the foil into a tight ball getting it as round and tight as possible. The reason I used foil is its a cheap and easy material for the first layer of clay to stick to. This is how you want your ball of foil to look. Put a hole in the bottom of your foil so it can sit on a stand.


Step 2:

Place your foil on a stand like the picture to the left and begin to add your clay. Try and make the clay surface as smooth as possible.


Step 3:

Begin to get a  basic shape of the design, as you can see I have started to add a simple chin and jawline.


Step 3 Continued:

This is how step 3 looks like from the front. Here the sides of the face are molded to the centre to form the jawline down to the chin


Step 4:

Here add some clay to both sides of the face to get the depth of the jawline like the design. This doesn't have to be perfect as we will come back to sculpt this more later.


Step 5:

Start to add small amount of clay to the front of the face and begin to form the thicker skin which looks like a helmet (Green part on design). This will give you the basic form of the front of the face. No tools are being used at this point just use your finger tips for molding.

Step 6:

For step 6 add a large amount of clay to the back of the head, here try and make it as smooth as possible again, Also try and make the sides of the back of the head have a slight bend round towards the front of the head. Use the design ad reference.


Step 7:

Add some more small amounts of clay to get the thickness of the skin as close to the design. Try to mold the shape as best as possible.


Step 8:

Begin to smooth the front of the sculpt, make sure you also leave the centre of the front slightly more raised, this adds a better 3D effect rather than having a flat face.


Step 9:

After smoothing the front of the face, move back round to the side once again. Here you must begin to add a larger amount of detail than before, begin by smoothing the jaw line (where my thumb is) down to the chin. Then move forward slightly to the thicker protective skin, here add detail to show the difference in thickness, its almost like trying to create a helmet which is glued to the head. Once this is done begin to add more clay and mould it further to the back, smiler to the design or you could use the next image step for reference.


Step 9 Continued:

If you follow the steps above you should now have something smiler to this, if not continue to sculpt and use this image as reference.


Step 10:

For step 10 repeat step 9 on the opposite side of the head.


Step 11:

Look at the current clay sculpt from the front and see if yours represents something smiler to this. You can see on either side the back of the head is bending round slightly towards the front of the face. If this isn't present in your design, refer back to step 6 then come back to this step once you are done. If your sculpt has to much clay on the back of the head, then use a tool to remove and shape the head.


Step 12:

We are now moving onto the neck. Before starting this step, go back and grab some foil, wrap the foil around your stand, this is so your clay doesn't get stuck to your stand. Make sure you add a few wraps of foil and push it tight together again so its fairly solid. It should look smiler to this.


Step 13:

Put the head sculpt back on the stand on top of the foil. Wrap clay around the foil and begin to mold the clay to the head. Try and form something that looks like a neck.


Step 14:

On the back of the neck try and form these folds in the neck at this point in time they don't need to be to detailed as we are just getting the basic shape.


Step 15:

Before moving on take a look at your sculpt and make sure your happy with everything.


Step 15:

The image on the left is a picture of metal wire wrapped in foil. Create two of these as you will be using them as supports for the clay to form the shoulders. 


Step 16:

Add small amount of clay to begin with, then insert the foil into mid section of the neck. Begin to mold the clay to the neck and blend the clay so there isn't a visible line.


 Step 17:

Repeat on the opposite side, and then sculpt a basic form to show the shoulders, neck, and trapezius
mussels. To create depth use a scarping tool to remove some unnecessary clay.


Step 18:

For the back of the sculpt, create some small pieces of clay to represent crease marks in the skin, almost like you would see on a over weight human: but on the neck of this Gorg sculpt.


Step 19:

 For the final sculpting step spin your model round on the stand to make sure it isn't stuck or going to get stuck when you leave it to dry. Also check for errors in your sculpt or even places you want to add more detail. Continue this step until you are happy.


Steps before painting:


Here is a picture of an error that happened to my sculpt, I left the clay by the window which had dried the clay out to quickly which formed cracks on my model. I tried to amend this issue by adding and molding clay around the crack however this caused the head to fall off and the sculpt was now in two pieces. I had to think fast and continued to try and mold the two back together.


Luckily i managed to fix this problem by continues failed attempts, in the end the clay dried into place. The next steps will be about painting your clay sculpt.


Painting Steps:


Items for painting:
Paint Brush
Air Brush
Acrylic paints (Or paint of your choice)


Firstly I painted the whole sculpt in a dark grey as a base layer with a paint brush. I did this so I had a base colour I could work around. This made it easy to create highlights or darken areas.


Secondly I used some plastic cups to mix a thinner paint so it doesn't clog up the airbrush. If you are going to use an airbrush i would recommend finding a tutorial on how to get the perfect consistency otherwise you will find it hard to use the airbrush correctly. Also spray your paint on paper first to make sure your happy. Once all the above is done, begin so slowly paint the thicker skin (Green part left) I went over lightly first and added more to thicken the colour.


Here is a close up of the sculpt after I was happy with the paint, as you can see the green is much lighter towards the centre of the head compared to the sides. This is to create a better effect and make the sculpt more 3D.


To create the hand prints on the head you need to get a piece of paper and draw the hand print. Then get a sharp knife preferably a scalpel (ask someone old enough to help you here if you are a child as they are very sharp) then begin to cut the inside of the hand print out. Once this is done use your paper to create the hand prints on the head.


Lastly get a red paint and add it all the way around the head try to make the red slightly watery so it blends with the grey nicely.


For our final paint step create a grey with a lot of water in a cup. And then add it to the skin over, it will drip a lot so try and keep it under control as mush as possible. By doing this the water will seep into parts of the sculpt to add extra detail.

Your model is now finished set it aside to dry.

I hope you found this step by step guide helpful. Thank you.

Chad Greenway