 Today I started to clay sculpt my Gorg Warrior Design (Reference Right). Today's blog will be a step by step of how I clay sculpted my design on the right.
 Step 1:
Firstly I started out with some kitchen foil, I began to form the foil into a tight ball getting it as round and tight as possible. The reason I used foil is its a cheap and easy material for the first layer of clay to stick to. This is how you want your ball of foil to look. Put a hole in the bottom of your foil so it can sit on a stand.

Step 2:
Place your foil on a stand like the picture to the left and begin to add your clay. Try and make the clay surface as smooth as possible.

Step 3:
Begin to get a basic shape of the design, as you can see I have started to add a simple chin and jawline.

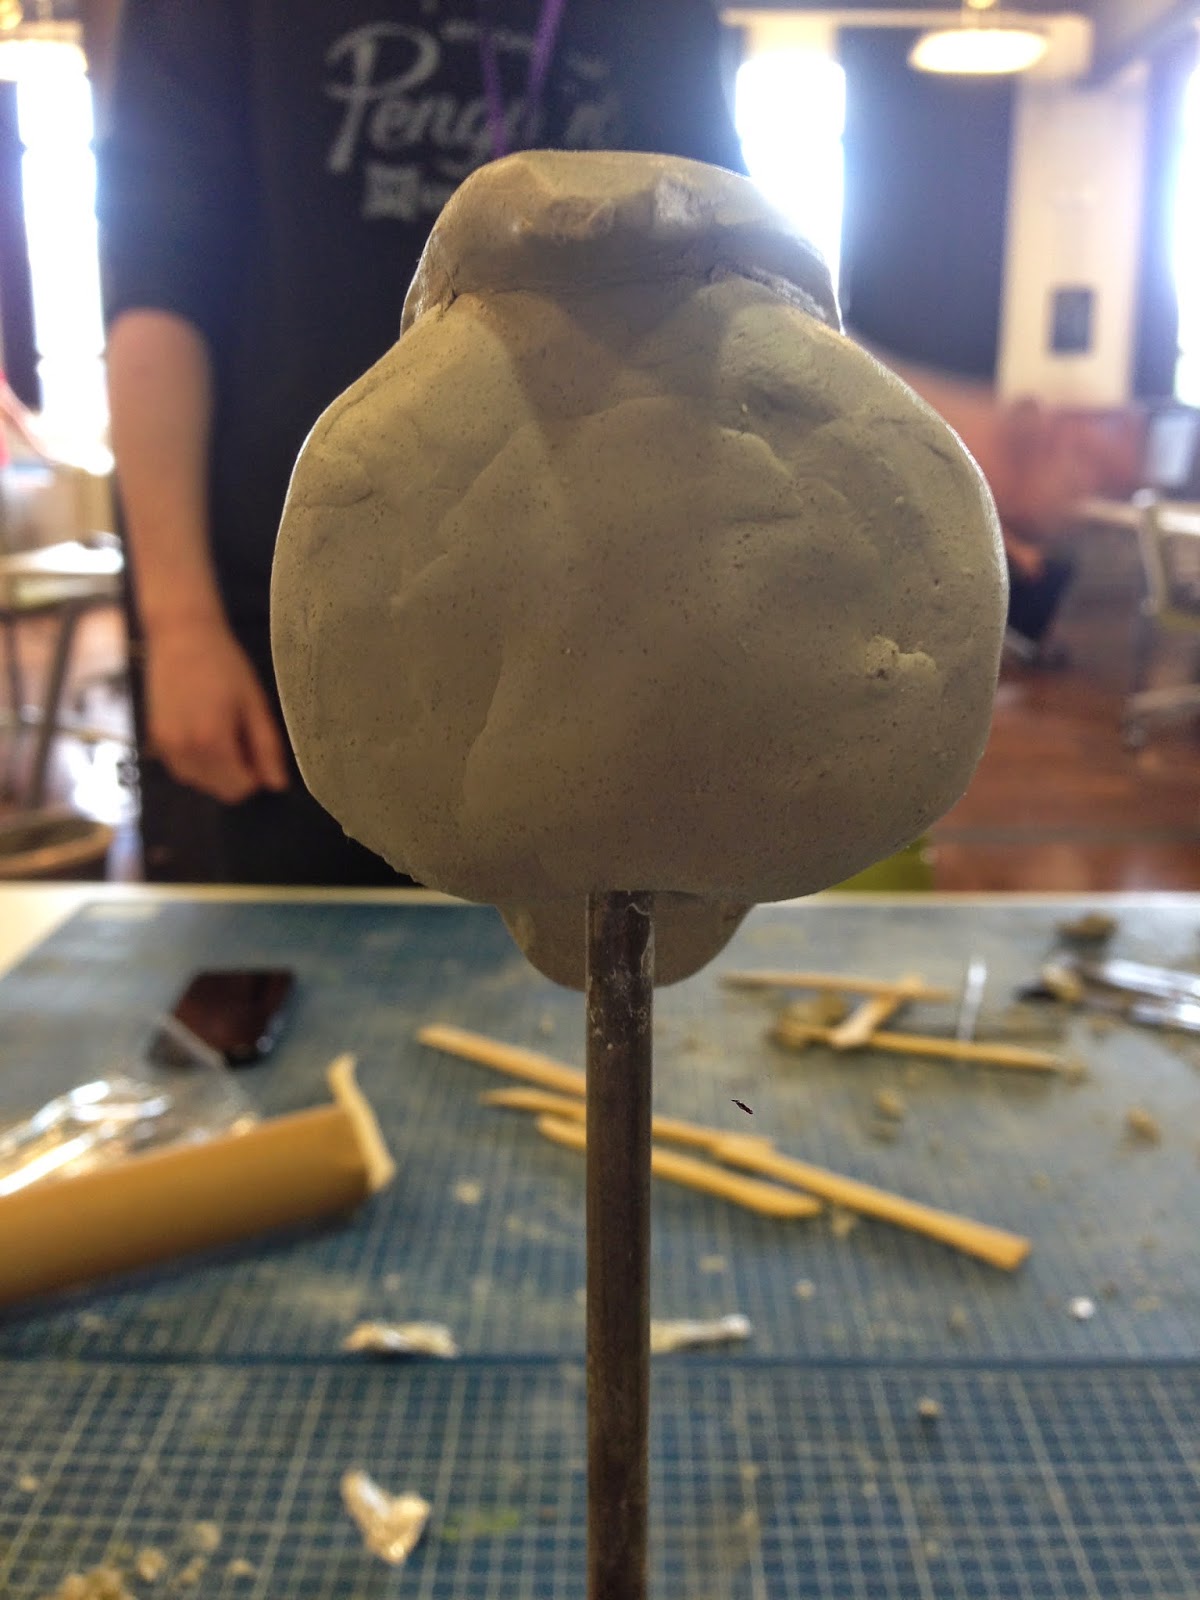
Step 3 Continued:
This is how step 3 looks like from the front. Here the sides of the face are molded to the centre to form the jawline down to the chin

Step 4:
Here add some clay to both sides of the face to get the depth of the jawline like the design. This doesn't have to be perfect as we will come back to sculpt this more later.

Step 5:
Start to add small amount of clay to the front of the face and begin to form the thicker skin which looks like a helmet (Green part on design). This will give you the basic form of the front of the face. No tools are being used at this point just use your finger tips for molding.
Step 6:
For step 6 add a large amount of clay to the back of the head, here try and make it as smooth as possible again, Also try and make the sides of the back of the head have a slight bend round towards the front of the head. Use the design ad reference.

Step 7:
 Add some more small amounts of clay to get the thickness of the skin as close to the design. Try to mold the shape as best as possible.
Step 8:
Begin to smooth the front of the sculpt, make sure you also leave the centre of the front slightly more raised, this adds a better 3D effect rather than having a flat face.

Step 9:
After smoothing the front of the face, move back round to the side once again. Here you must begin to add a larger amount of detail than before, begin by smoothing the jaw line (where my thumb is) down to the chin. Then move forward slightly to the thicker protective skin, here add detail to show the difference in thickness, its almost like trying to create a helmet which is glued to the head. Once this is done begin to add more clay and mould it further to the back, smiler to the design or you could use the next image step for reference.

Step 9 Continued:
If you follow the steps above you should now have something smiler to this, if not continue to sculpt and use this image as reference.

Step 10:
For step 10 repeat step 9 on the opposite side of the head.

Step 11:
Look at the current clay sculpt from the front and see if yours represents something smiler to this. You can see on either side the back of the head is bending round slightly towards the front of the face. If this isn't present in your design, refer back to step 6 then come back to this step once you are done. If your sculpt has to much clay on the back of the head, then use a tool to remove and shape the head.

Step 12:
We are now moving onto the neck. Before starting this step, go back and grab some foil, wrap the foil around your stand, this is so your clay doesn't get stuck to your stand. Make sure you add a few wraps of foil and push it tight together again so its fairly solid. It should look smiler to this.

Step 13:
Put the head sculpt back on the stand on top of the foil. Wrap clay around the foil and begin to mold the clay to the head. Try and form something that looks like a neck.

Step 14:
On the back of the neck try and form these folds in the neck at this point in time they don't need to be to detailed as we are just getting the basic shape.

Step 15:
Before moving on take a look at your sculpt and make sure your happy with everything.

Step 15:
The image on the left is a picture of metal wire wrapped in foil. Create two of these as you will be using them as supports for the clay to form the shoulders.

Step 16:
Add small amount of clay to begin with, then insert the foil into mid section of the neck. Begin to mold the clay to the neck and blend the clay so there isn't a visible line.

Step 17:
Repeat on the opposite side, and then sculpt a basic form to show the shoulders, neck, and trapezius
mussels. To create depth use a scarping tool to remove some unnecessary clay.Repeat on the opposite side, and then sculpt a basic form to show the shoulders, neck, and trapezius

Step 18:
For the back of the sculpt, create some small pieces of clay to represent crease marks in the skin, almost like you would see on a over weight human: but on the neck of this Gorg sculpt.

Step 19:
For the final sculpting step spin your model round on the stand to make sure it isn't stuck or going to get stuck when you leave it to dry. Also check for errors in your sculpt or even places you want to add more detail. Continue this step until you are happy.
Steps before painting:

Here is a picture of an error that happened to my sculpt, I left the clay by the window which had dried the clay out to quickly which formed cracks on my model. I tried to amend this issue by adding and molding clay around the crack however this caused the head to fall off and the sculpt was now in two pieces. I had to think fast and continued to try and mold the two back together.

Luckily i managed to fix this problem by continues failed attempts, in the end the clay dried into place. The next steps will be about painting your clay sculpt.
Painting Steps:

Items for painting:
Paint Brush
Air Brush
Acrylic paints (Or paint of your choice)
Firstly I painted the whole sculpt in a dark grey as a base layer with a paint brush. I did this so I had a base colour I could work around. This made it easy to create highlights or darken areas.

Secondly I used some plastic cups to mix a thinner paint so it doesn't clog up the airbrush. If you are going to use an airbrush i would recommend finding a tutorial on how to get the perfect consistency otherwise you will find it hard to use the airbrush correctly. Also spray your paint on paper first to make sure your happy. Once all the above is done, begin so slowly paint the thicker skin (Green part left) I went over lightly first and added more to thicken the colour.
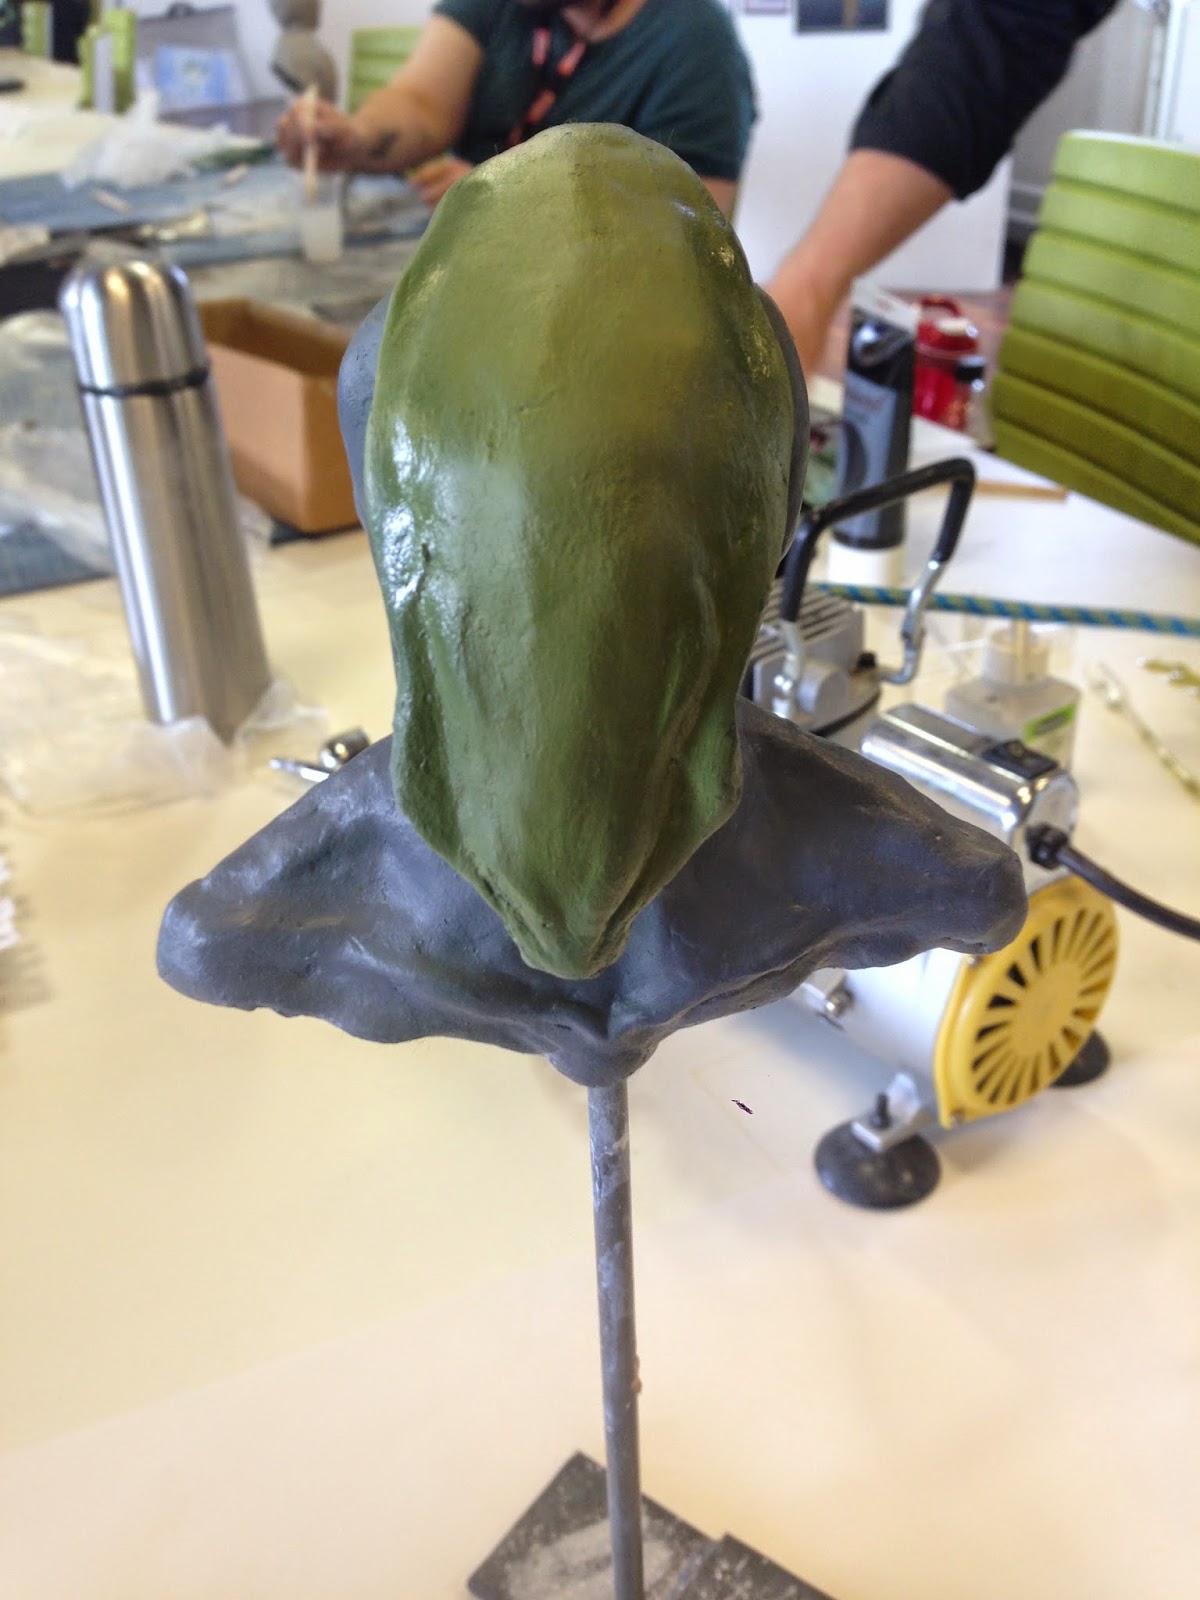
Here is a close up of the sculpt after I was happy with the paint, as you can see the green is much lighter towards the centre of the head compared to the sides. This is to create a better effect and make the sculpt more 3D.

To create the hand prints on the head you need to get a piece of paper and draw the hand print. Then get a sharp knife preferably a scalpel (ask someone old enough to help you here if you are a child as they are very sharp) then begin to cut the inside of the hand print out. Once this is done use your paper to create the hand prints on the head.

Lastly get a red paint and add it all the way around the head try to make the red slightly watery so it blends with the grey nicely.

For our final paint step create a grey with a lot of water in a cup. And then add it to the skin over, it will drip a lot so try and keep it under control as mush as possible. By doing this the water will seep into parts of the sculpt to add extra detail.
Your model is now finished set it aside to dry.
I hope you found this step by step guide helpful. Thank you.
Chad Greenway
No comments:
Post a Comment