Step 1:
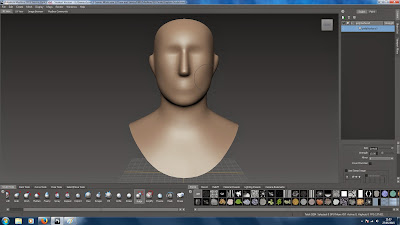
To begin the sculpt I used the basic mudbox head mesh.
Step 2:
I then began to get the basic form of my design, to do this I used the grab tool and the Bulge tool in some areas to.
Step 3:
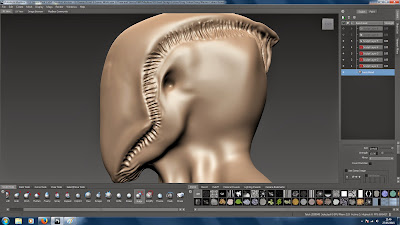
Afterwards I went around the face where the thicker skin is (Helmet looking part) and used the bulge tool to get the a clear difference between the skin thickness. I then also made the ear which is a hole in the side of the head on both sides. I also made the neck more detailed, look at the human anatomy to replicate this.
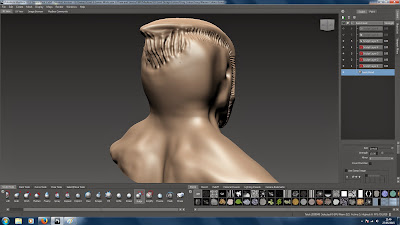
Step 3 Back View:
This is just a quick shot of step 3 from the back of the head.

Step 4:
Here I used the bulge tool down the centre of the thick skin to get a better 3d effect. I also added some more detail to the body.

Step 5:
Here i added some more detail to the jaw area to make it clear where the jawline is. I also started to add the attachment to the thicker skin (the deep lines).

Step 5 Back View:
This is what step 5 looks like from the back.
Step 6:
I then added the creases to the skin, they are thicker areas down the back to protect the spine.
Step 7:
To finish the model I added veins to the skin, I didn't add any veins to the thicker skin as this didn't make sense to me.
The following steps are paint layers.
Step 1 Paint:
The first paint layer I made a grey base layer to make it easy to work around.
Step 2 Paint:
I then painted the veins onto the mesh, I used a dark green and then added a lighter green over the top and used the blur tool to mix the two.
Step 3 Paint:
Afterwards I added a gloss paint to give a slimy effect to the skin. However i didn't apply the gloss paint to the thick skin because I wanted to show the difference between to two.
Step 4 Paint:
For step 4 I added a dark green base to the thick skin, I then painted a light green over the top in the centre of the skin to give a better 3d look.
Step 5 Paint:
To paint the hands on the head I used a dark green and used the air brush paint tool and used low strength to give a look wear, to show that the Gorg has been in many battles.
Step 6 Paint:
For step 6 I painted the attachment part a dark red to add deep detail and then highlighted parts to give a better effect of thickness. I also added a dark grey to the inner ear.
Step 6 Paint:
A closer look at step 6.
The above is the final pieace of my Gorg Warrior.


No comments:
Post a Comment